Refresher: What’s an interactive demo?
An interactive demo is a clickable walkthrough replicating your product’s experience and helps prospects evaluate its capabilities and potential value.
Here’s an example 👇
Refresher: What’s the top interactive demo platform?
We’re biased, but Arcade (that’s us 👋, click here for a full demo of the platform) is powering over 14,000+ teams from companies like Atlassian, Zapier, and Clay and has been reported to outpace competitors in terms of:
- Ease and speed of creating demos
- Design flexibility and customization
- Scalability and collaboration features
- Best experience for demo viewers.
Here’s a list of the top 8 interactive demo software for your team in 2025.
Refresher: Prepare for recording
To create stunning demos that resonate with your prospects and customers (without losing too much time), prepare before you hit “record.”
A few pointers:
- Ensure you're on the webpage or web application you intend to demo.
- Plan the specific features or workflows you want to highlight to maintain a clear and concise demonstration.
Refresher: Other guides you might find useful
*️⃣ For a detailed guide on creating interactive guides → Click here.
*️⃣ To know what the top 1% of interactive demos have in common → Click here.
*️⃣ The best interactive demo examples of 2024 → Click here.
6 ways to record interactive demos ⤵️
#1 - Use a browser extension
Arcades’ browser extension is the easiest and fastest way to record interactive demos. Here’s an overview ⤵️
To get started, follow these steps:
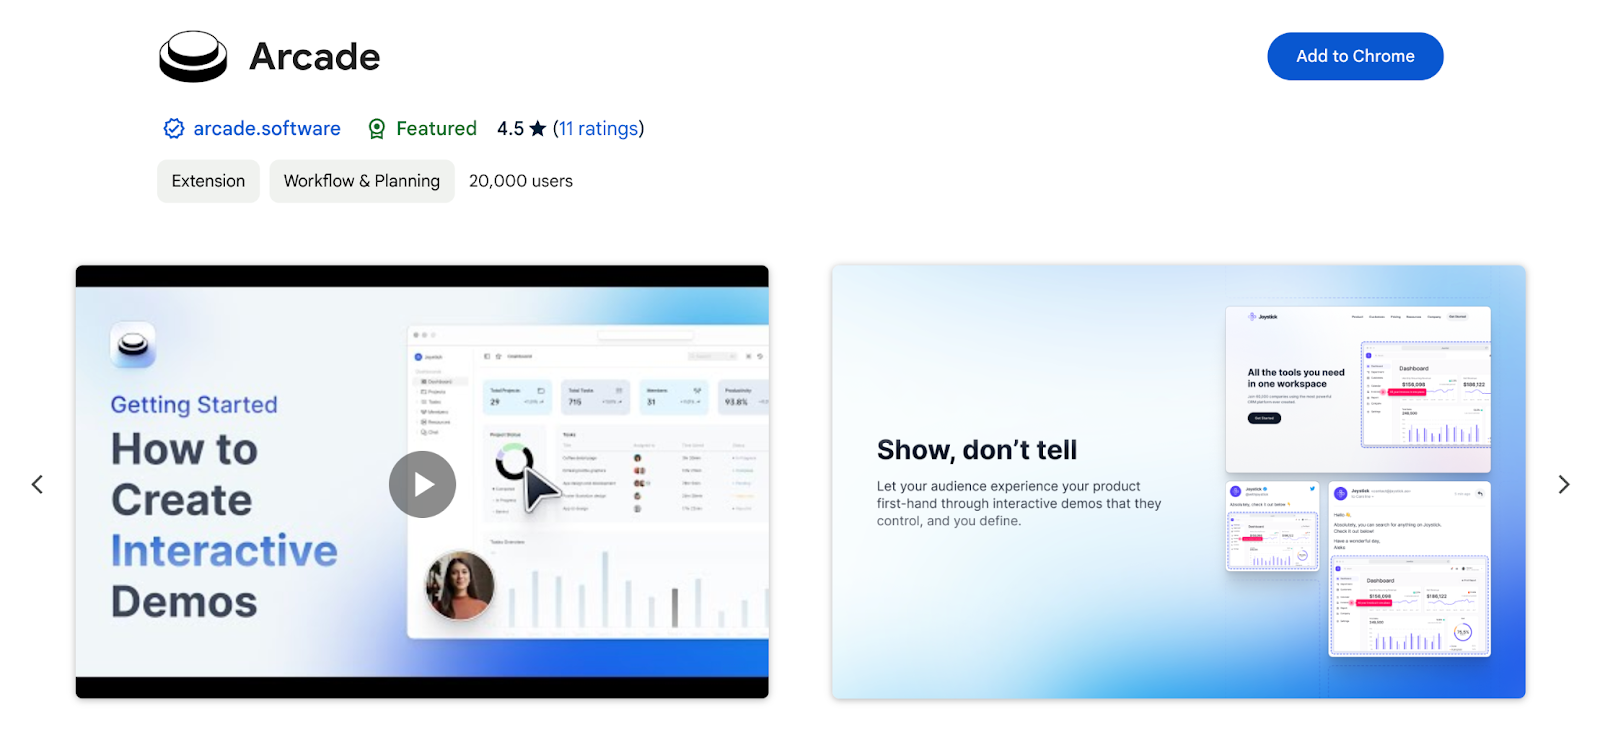
Step 1: Install the Arcade Chrome extension
Option A
- Navigate to the Arcade Chrome Extension page in the Chrome Web Store.
- Click on "Add to Chrome" to install the extension.
Option B
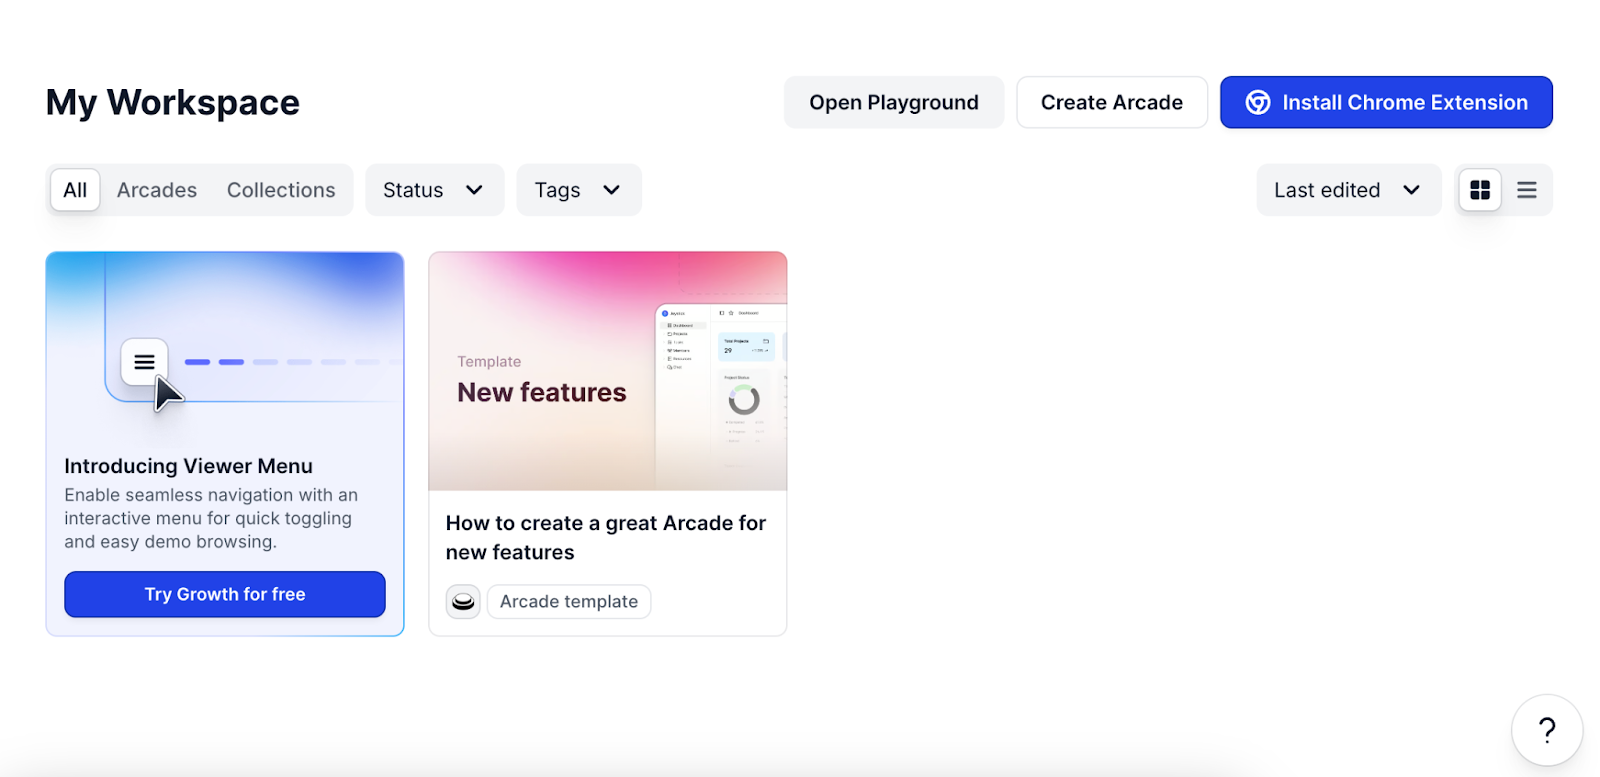
- Sign in to your Arcade workspace.
- If you haven’t installed the Chrome extension yet, a button will appear on the top-right corner of your dashboard.
Step 2: Start recording
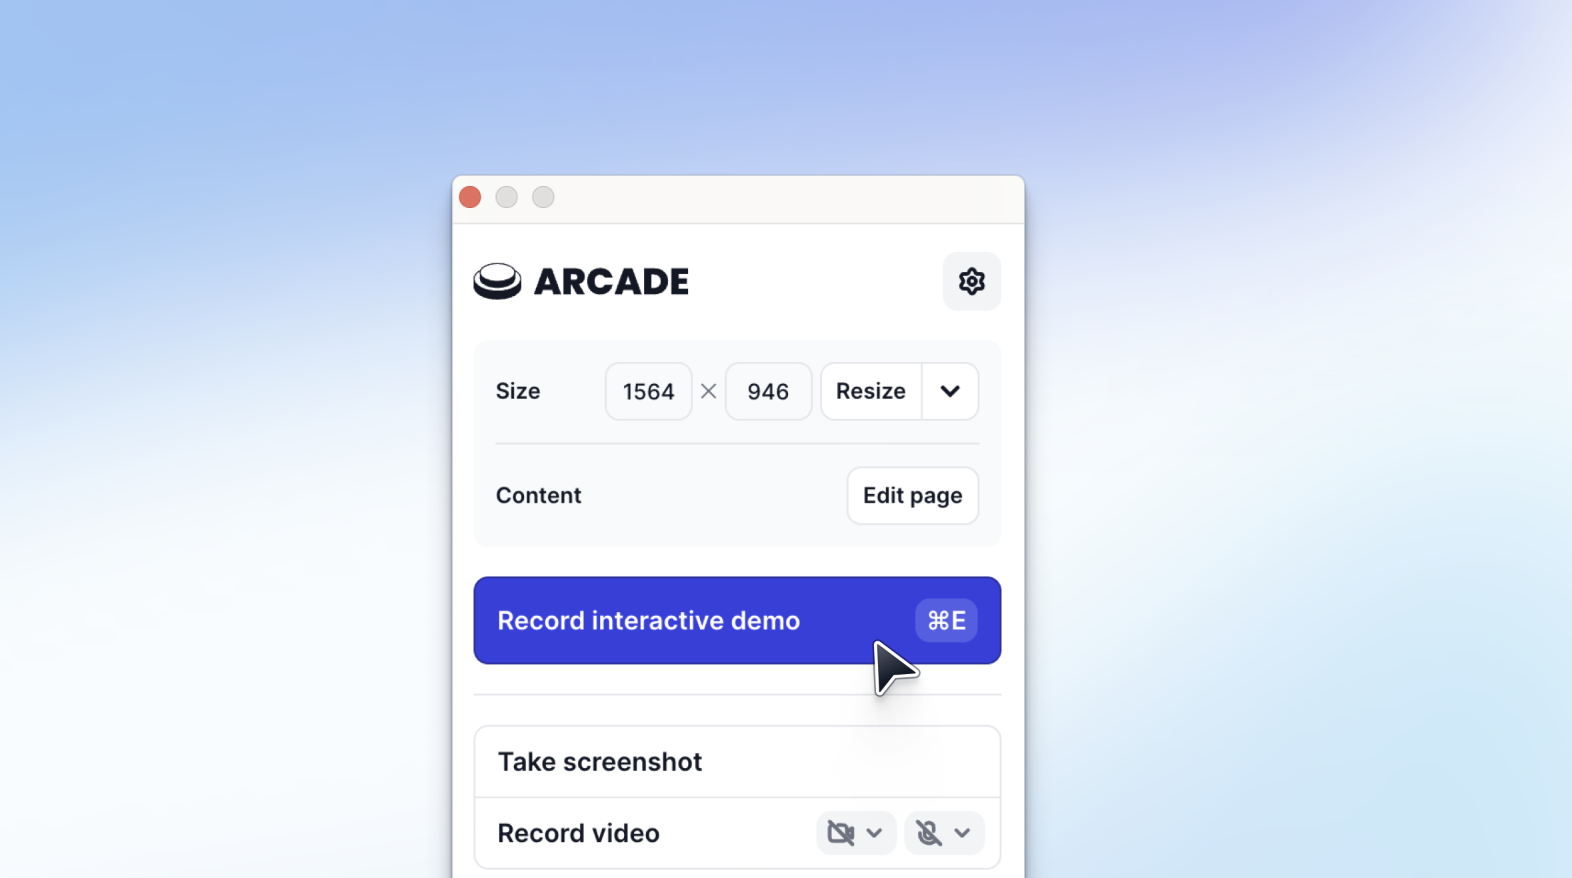
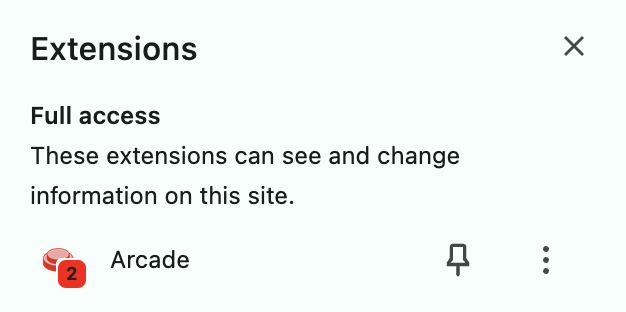
- Click on the Arcade icon in your Chrome toolbar to open the extension.
- Press the "Record Interactive Demo" button to begin capturing your actions.
- Alternatively, use the shortcut ⌘E (on Mac) or Ctrl+E (on Windows) to start and stop recording.
Step 3: Capture Interactions
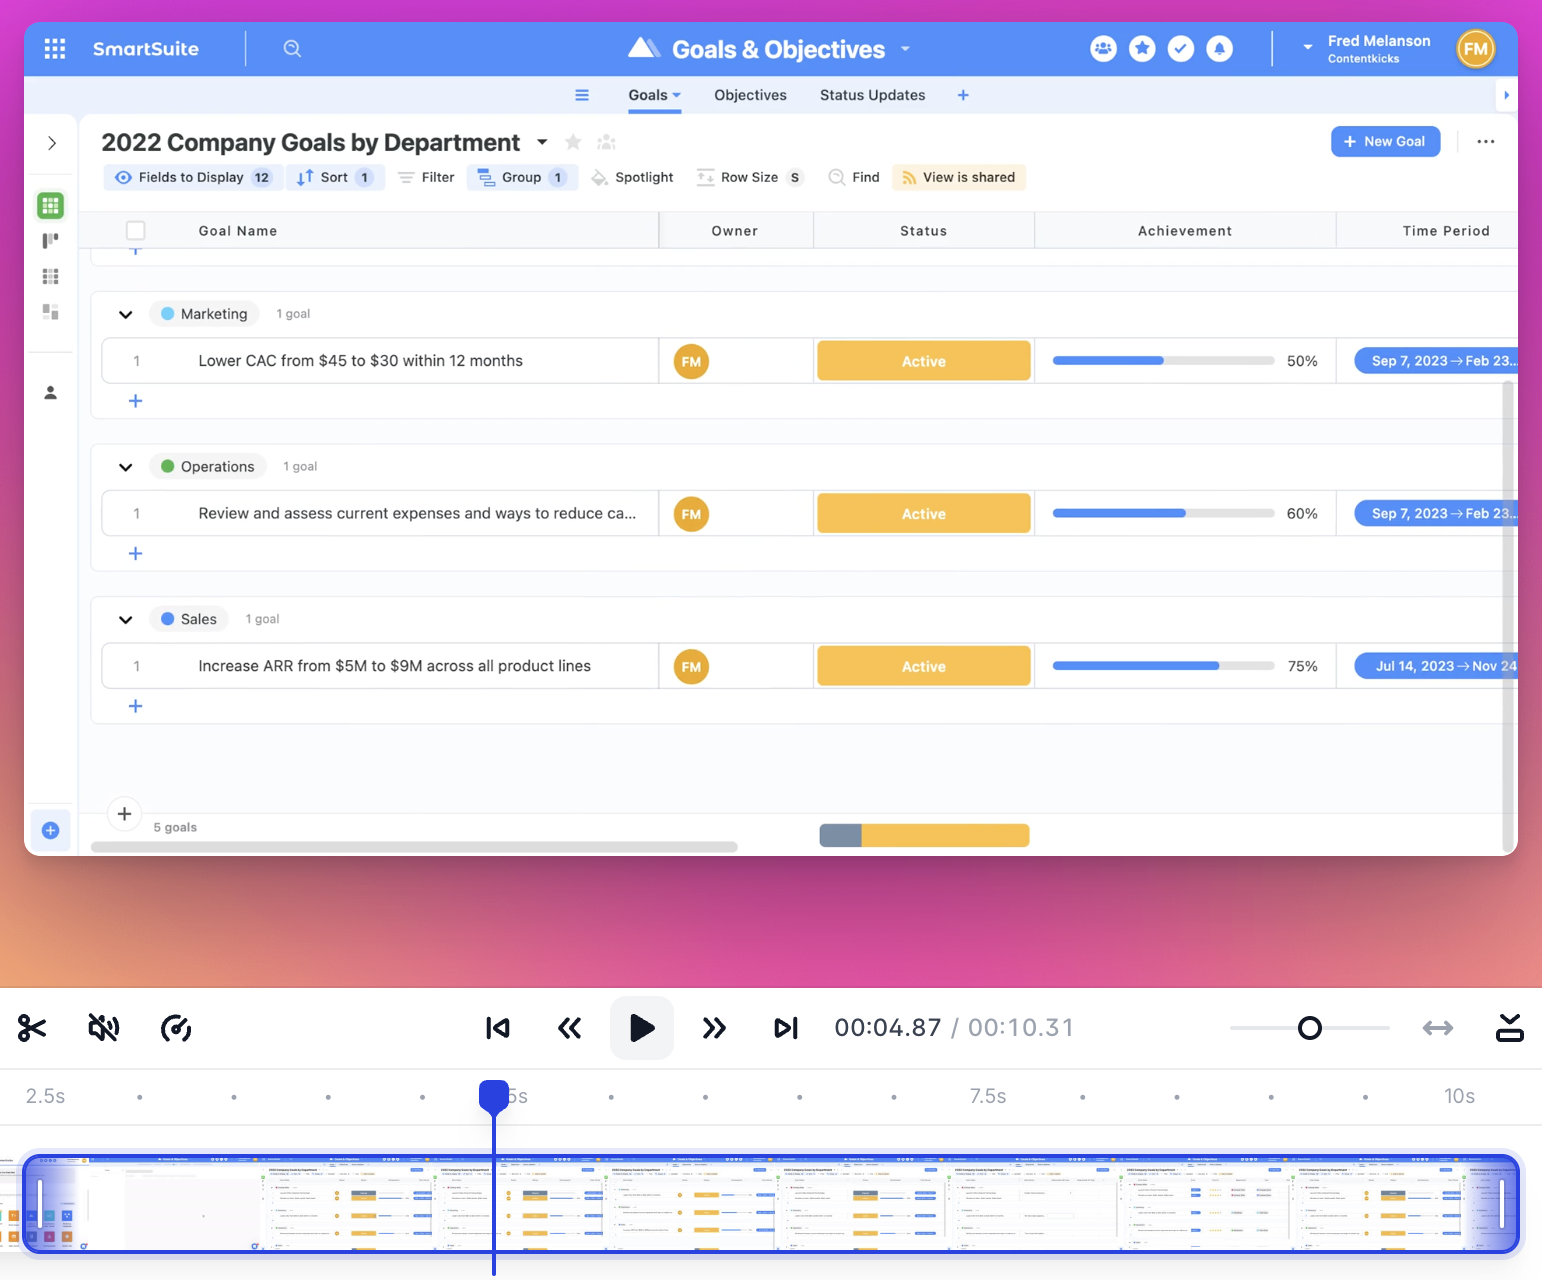
As you navigate through your product, Arcade will automatically capture:
- Clicks: Each click is recorded as a step with an associated screenshot.

- Scrolling, Typing, Drag and Drop: These actions are recorded as video snippets.
Step 4: Pause or cancel recording
- To pause or stop the recording, click the Arcade extension icon again or use the ⌘E/Ctrl+E shortcut.
- To cancel the recording at any point, press the Esc key.
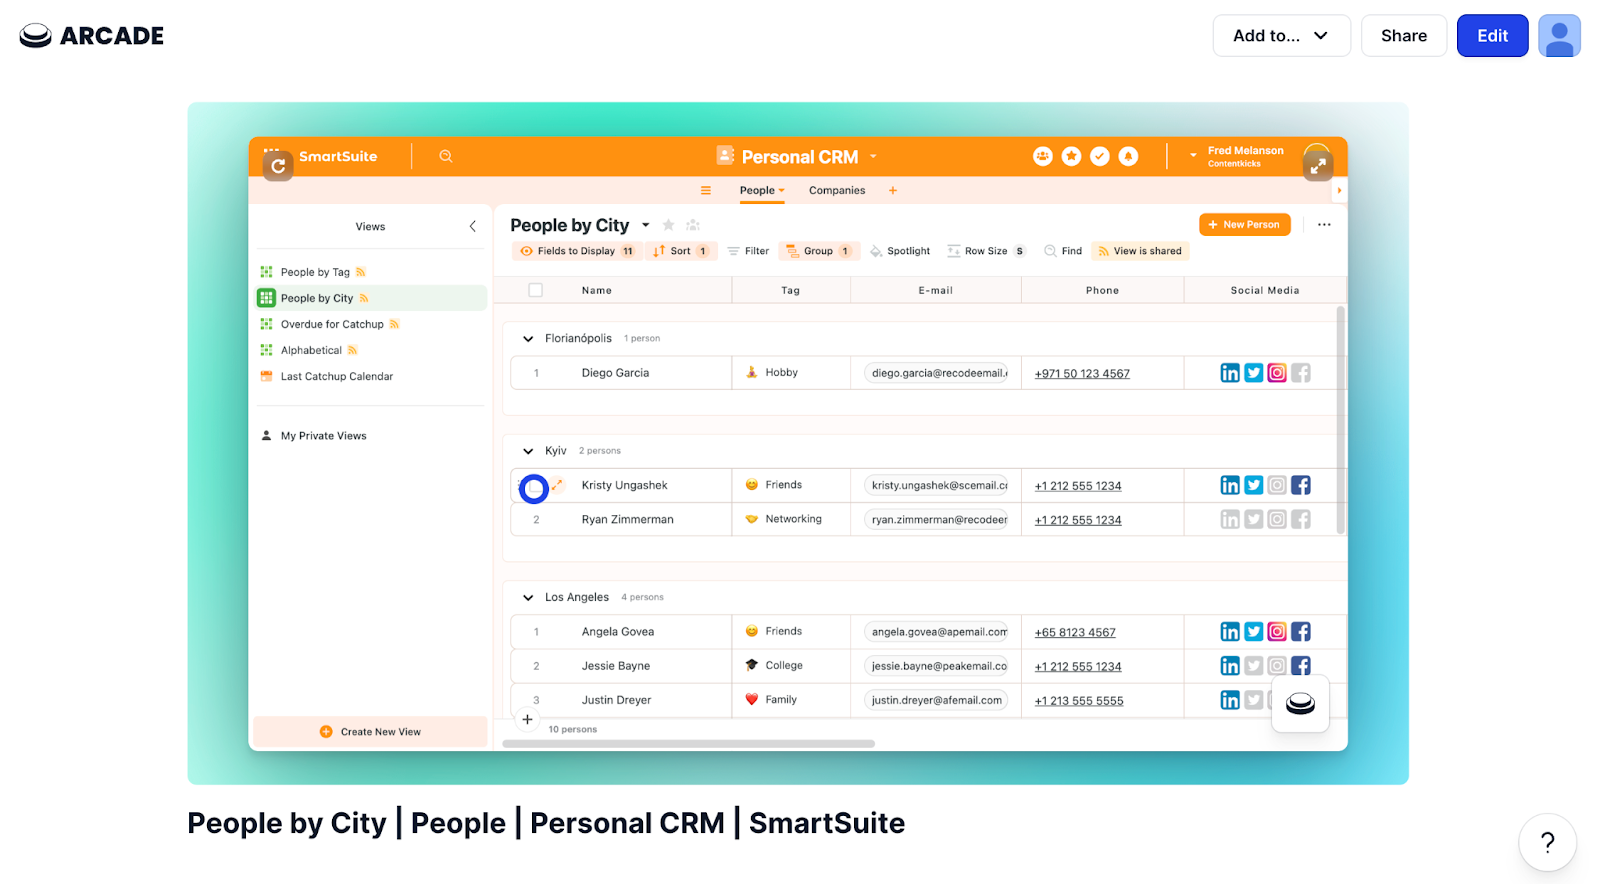
Once you click on the Arcade extension again and finish recording, your interactive demo will automatically be created.
Share it immediately, or click “Edit” to make further changes.
FAQ: Is there anything Arcade can't capture on a browser?
- If you move to another tab, Arcade will capture images but not videos.
- Arcade cannot capture the action of another Chrome extension.
- The Chrome capture API will not record native select controls (e.g., drop-downs that aren't styled, native windows like a file picker) whenever a website uses them.
- (Very rare) If you move too quickly, the Chrome extension may miss a blade or tab.
FAQ: When will Arcade record video vs screenshots?
When you click anywhere on a webpage, Arcade takes a screenshot and puts a hotspot where you clicked.
If you scroll, type, drag-and-drop, Arcade will record a video.
You can always keep, edit, or delete these videos while editing your flow.
Here’s the Chrome extension in action ⤵️
#2 - Use Arcade’s Desktop App
Do you need to record desktop apps, terminal apps, and/or multiple screens? Arcade’s desktop app is the best option for recording stunning interactive demos.
Here’s how ⤵️
Step 1: Install the Arcade desktop app
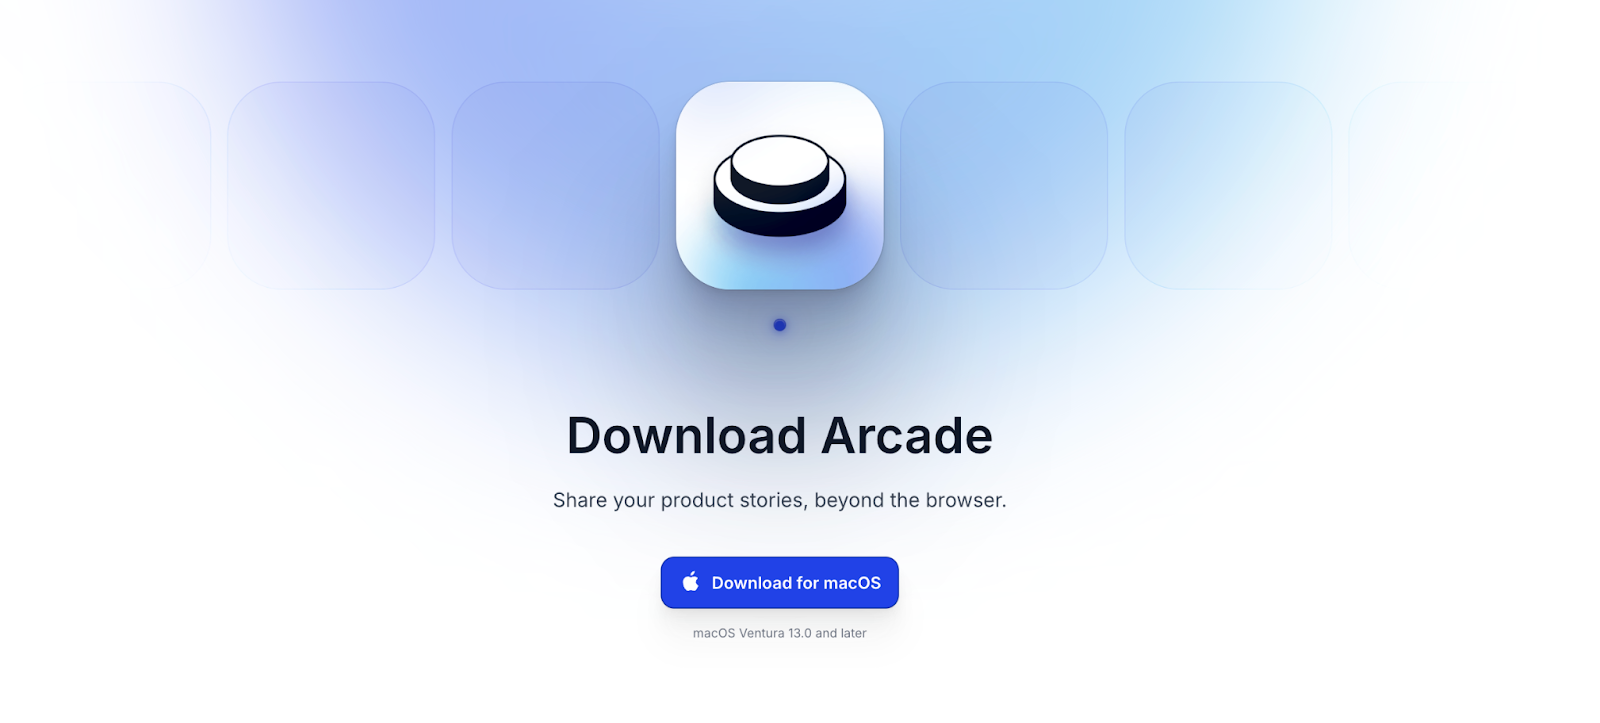
- Visit the Arcade website and download the desktop application that is compatible with your operating system.
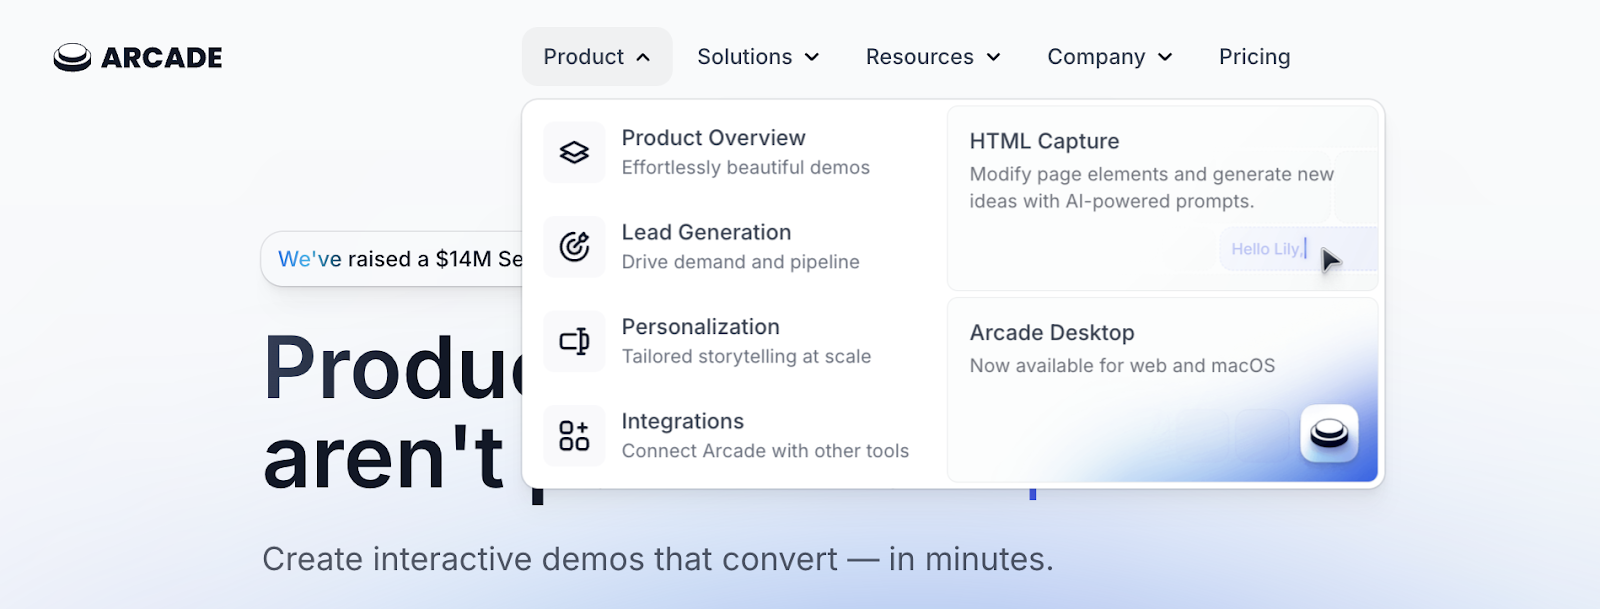
- Follow the installation prompts to complete the setup.
Step 2: Launch the application
- Open the Arcade desktop app from your applications folder or start menu.

- Ensure Arcade has access to record your screen, then click Continue.
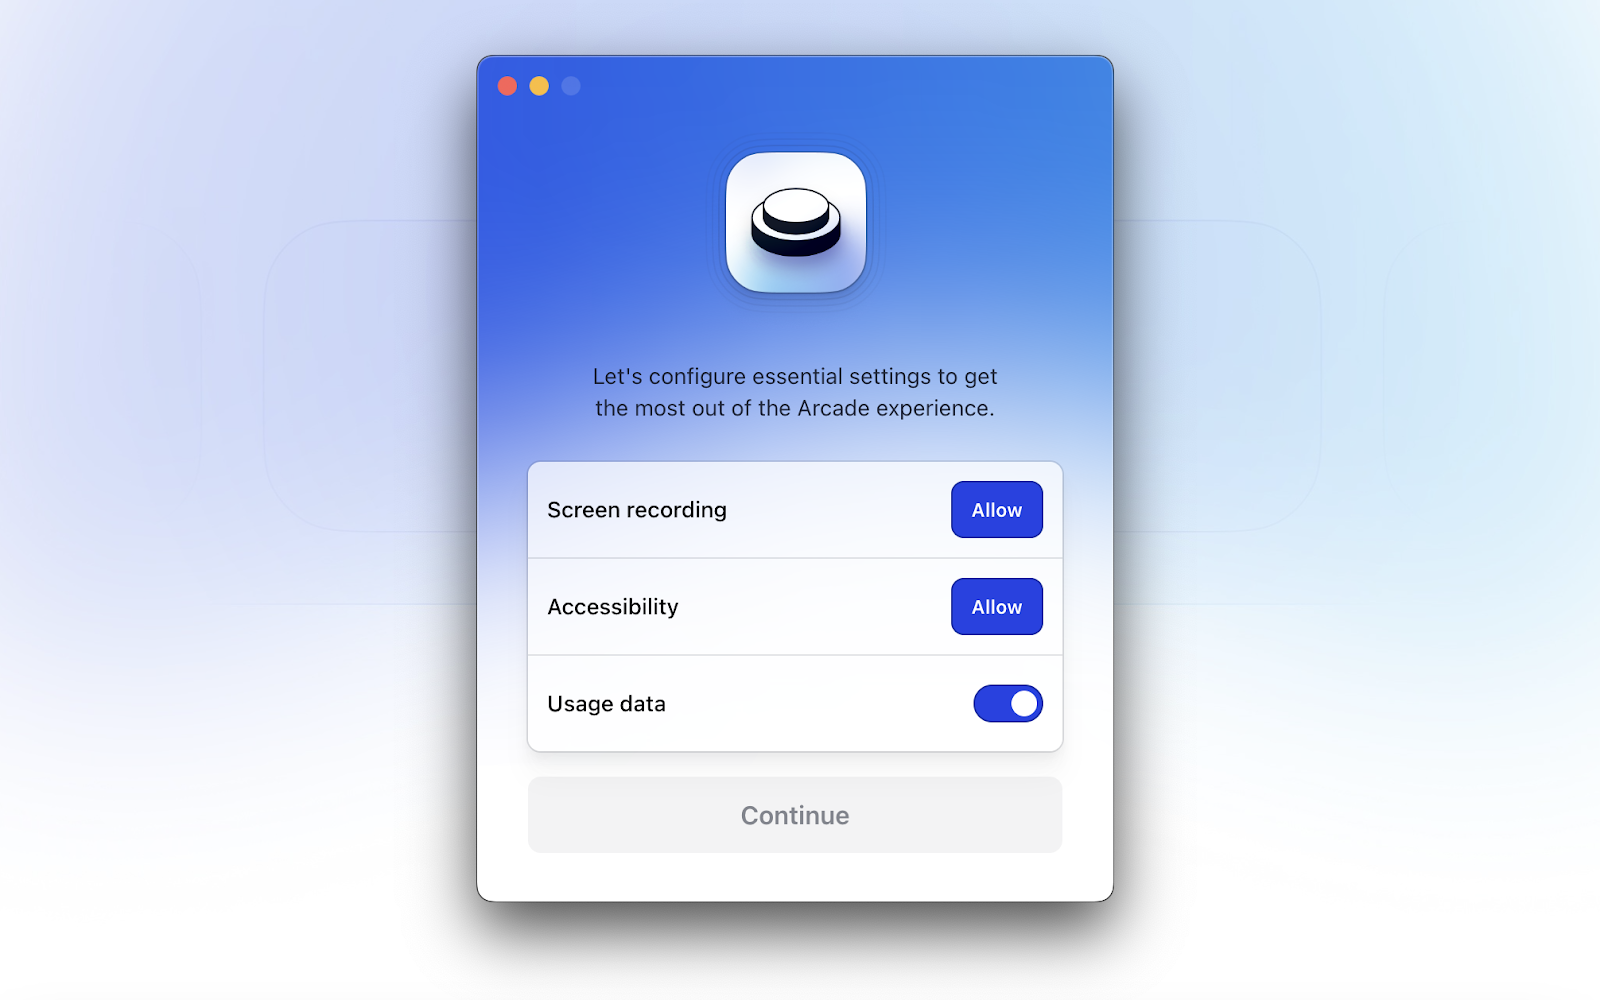
Step 3: Start Recording
- Choose between recording your entire screen or a specific application window in the Arcade desktop app.

- Click the "Record Interactive Demo" button to begin capturing your actions.
(Same as with Chrome extension) Step 4: Capture Interactions
As you interact with your product, Arcade will automatically capture:
- Clicks: Each click is recorded as a step with an associated screenshot.
- Scrolling, Typing, Drag-and-Drop: These actions are recorded as video snippets.
Step 5: Pause or cancel recording
- Once a recording is in progress, click the stop button on your screen to pause or stop it.
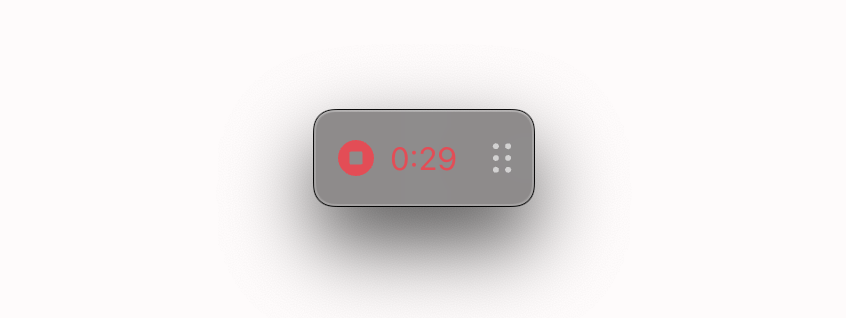
- To cancel the recording at any point, press the Esc key.
💡 Note: The Desktop app is only supported by devices running MacOS 13.0 and above.
#3 - HTML Capture
HTML capture is a new way to replicate your product's exact look and feel into an interactive tour.
💡 HTML capture is in beta. Click here for early access.
Here’s an overview:
Once you’ve gained access to HMTL capture in your Arcade workspace and are ready to get going, follow these steps:
Step 1: Enable HTML capture
- Once HTML capture is enabled in your workspace, open the Arcade Chrome Extension.
- Click on the "Settings" button within the extension.
- Toggle the "Capture HTML" option to "On."
Step 2: Record Your Demo
- Navigate to the webpage or application you intend to demo.
- Click on the Arcade extension icon in your Chrome toolbar.
- Select "Record Interactive Demo" to begin capturing your actions.
- As you interact with the page, Arcade will save the underlying HTML of each step.
Step 3: Edit the captured HTML
- After completing the recording, access the HTML editor from the right-hand toolbar in the Arcade editor.
- Clicking on it will open a modal window where you can modify the content.
- You can:some text
- Edit Text: Modify existing text to personalize the demo.
- Replace images: Swap out images, such as company logos or UI icons.
- Remove elements: Delete elements that may contain sensitive information or are irrelevant to the demo.
- Hide elements: Cover elements to protect confidential information or focus viewer attention.
Here’s an example:
#4 - Upload media files manually
You can upload files manually as you create an interactive demo in Arcades, either by hand or by copying from a library or another interactive demo you’ve recorded.
File types include:
- Images: Screenshots or graphics relevant to your demo.
- Videos: Pre-recorded clips demonstrating specific features or workflows.
- PDFs: Documents that provide additional context or information.
Here are the steps to upload media files manually:
Step 1: Create a new Arcade
- Click on the "Create New Arcade" button on your dashboard.
- Choose the option to create an Arcade manually without recording.
Step 2: Upload media files
- Click on the "Upload Media" button to add your files.
- Pick where you want to upload your files from.
Step 3: Ensure consistent dimensions
💡 Arcade automatically resizes all images to match the dimensions of the first uploaded or captured image.
Ensure that all uploaded media share the same dimensions to maintain visual consistency.
#5 - Mirror screens from your mobile
Can I record an Arcade on my phone?
Chrome extensions don't work on most mobile browsers (both iPhone and Android), so you won't be able to record an Arcade directly on your phone.
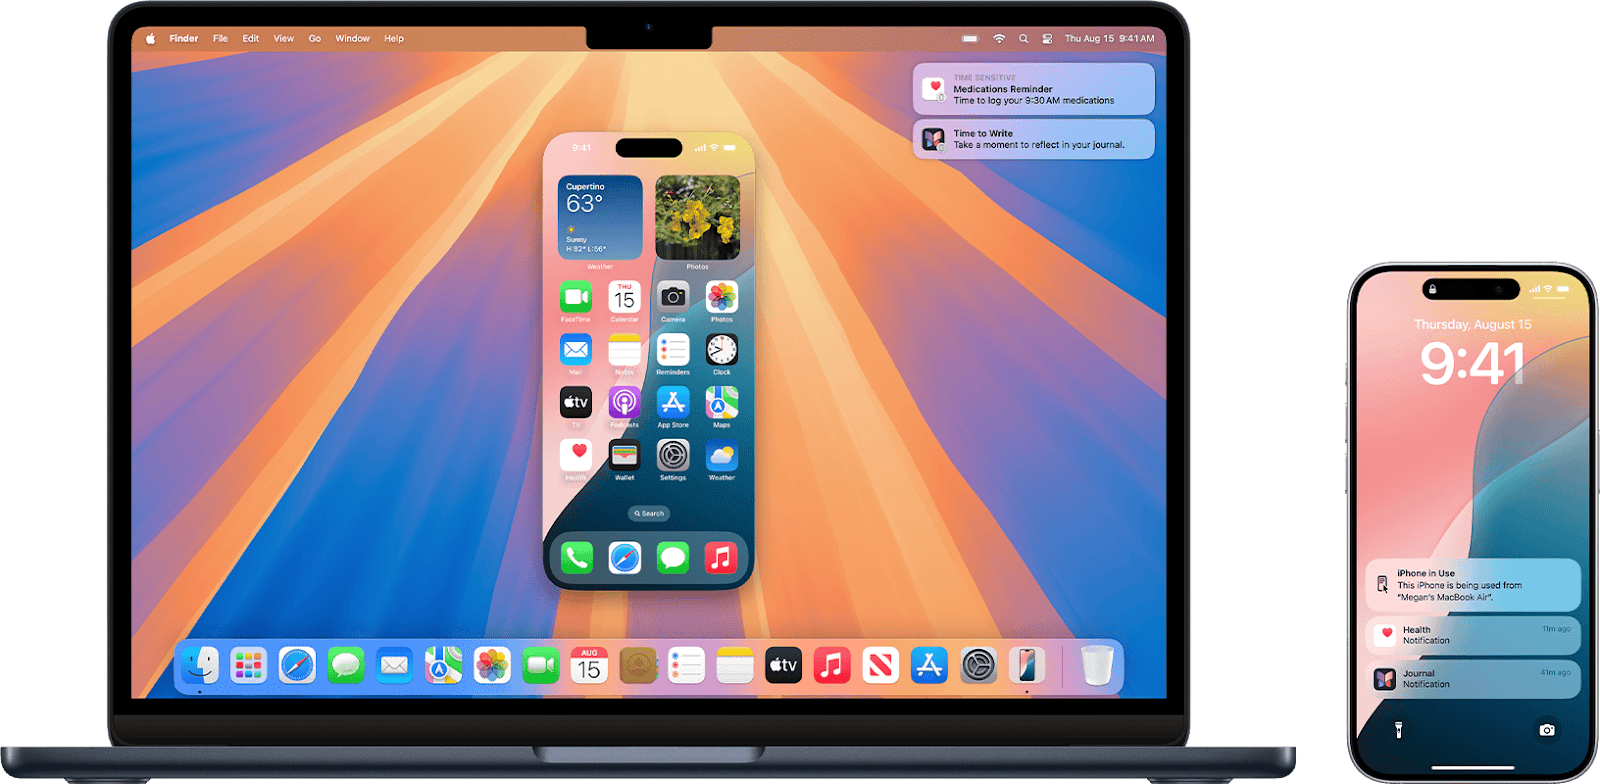
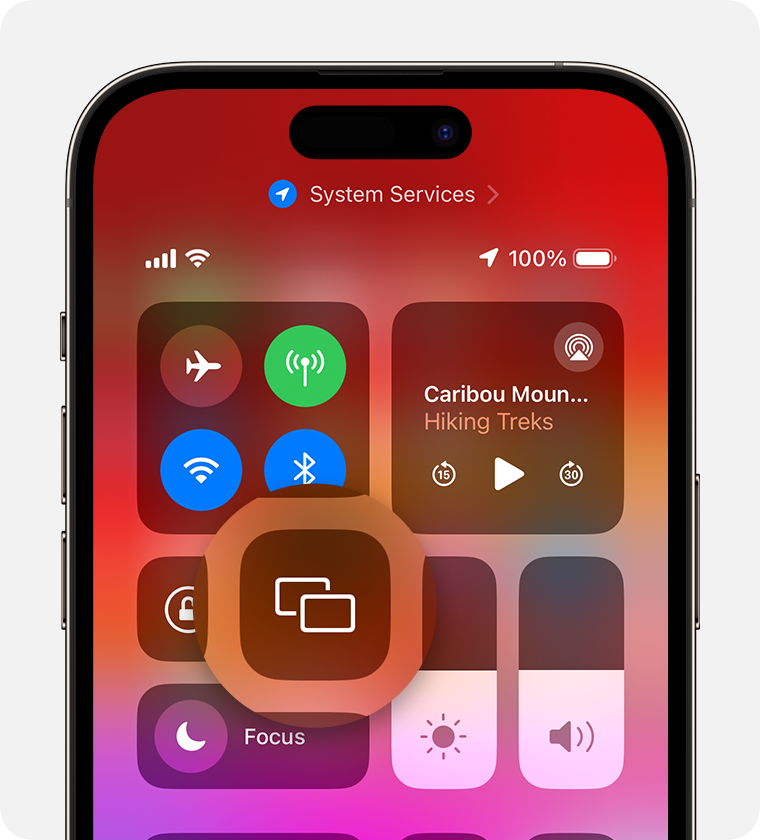
You can use iPhone Screen Mirroring + Sequoia to see your iPhone directly on your computer screen and record using the Desktop app.
Alternatively, for non-iphones, you can take screenshots and screen recordings on your phone and then upload them to create a mobile Arcade. Alternatively, you can upload a screen recording and use video splitting to make it into an interactive demo.
Can I make an Arcade of a phone App?
Yes.
Here’s how:
- Download and install the Arcade Desktop App
- On your Mac, launch the "Simulator App" (⌘+Spacebar should open your spotlight; from there, type “Simulator”)
- On the simulator, install your mobile app from the App Store.
- You're ready once you have the Arcade Desktop App and the Simulator.
#6 - Use Arcade’s Figma plugin
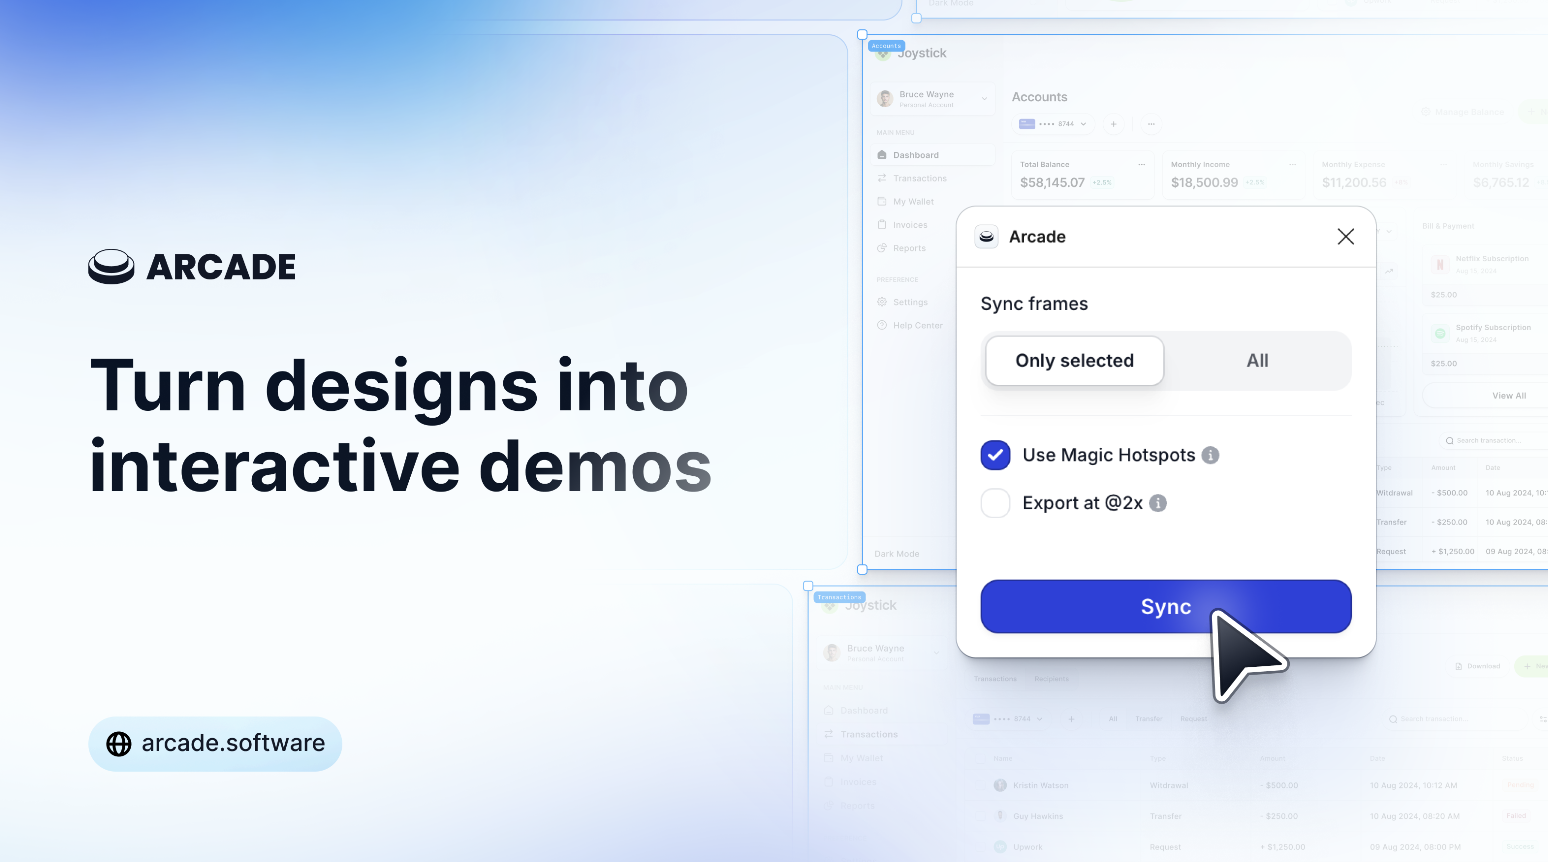
Arcade’s Figma plugin allows you to transform static designs into interactive, clickable demos, enabling faster feedback, better collaboration, and more engaging product storytelling.
Step 1: Install the Figma plugin
- Click on the "Create New Arcade" button on your dashboard.
- Choose the “Figma Plugin” option.

- Download the Arcade plugin for Figma.
- Select the Figma file in which you want Arcade to be authorized.
Step 2: Turn frames into interactive tours
- Pick from the option to select all frames in your files or only the ones you’ve chosen.
- Click “Sync” to turn the selected frames into an interactive Arcade.
Next Steps: Edit & Publish Your Demo
And that’s how you can record interactive demos for your SaaS business.
Eager to give it a try?
Click here to get started in Arcade, or watch how to edit and publish your demo below 👇

.jpg)


.jpg)